


What is Jenkins , why do we need it?
Lets say we've built an application like amazon on our local machine using which the customers can order a host of products and get it delivered, but how do you make it available for the users? Also when you implement new features how do they get integrated with the already present application.
Enter Jenkins.
Jenkins is an automation server which helps to automate various steps related to the software development lifecycle like testing, building, deploying etc.
In Jenkins we can create pipelines for our softwares and it will automatically get triggered when there are new changes in the repository. It will pull the changes from the SCM (source code management) solution like Github, Gitlab etc. build it using the desired tool (like maven for spring applications, npm for node applications) and publish it to the cloud, be it a kubernetes solution (like eks from amazon) or a compute instance(like ec2 which we'll be using in this tutorial).
What is a pipeline?
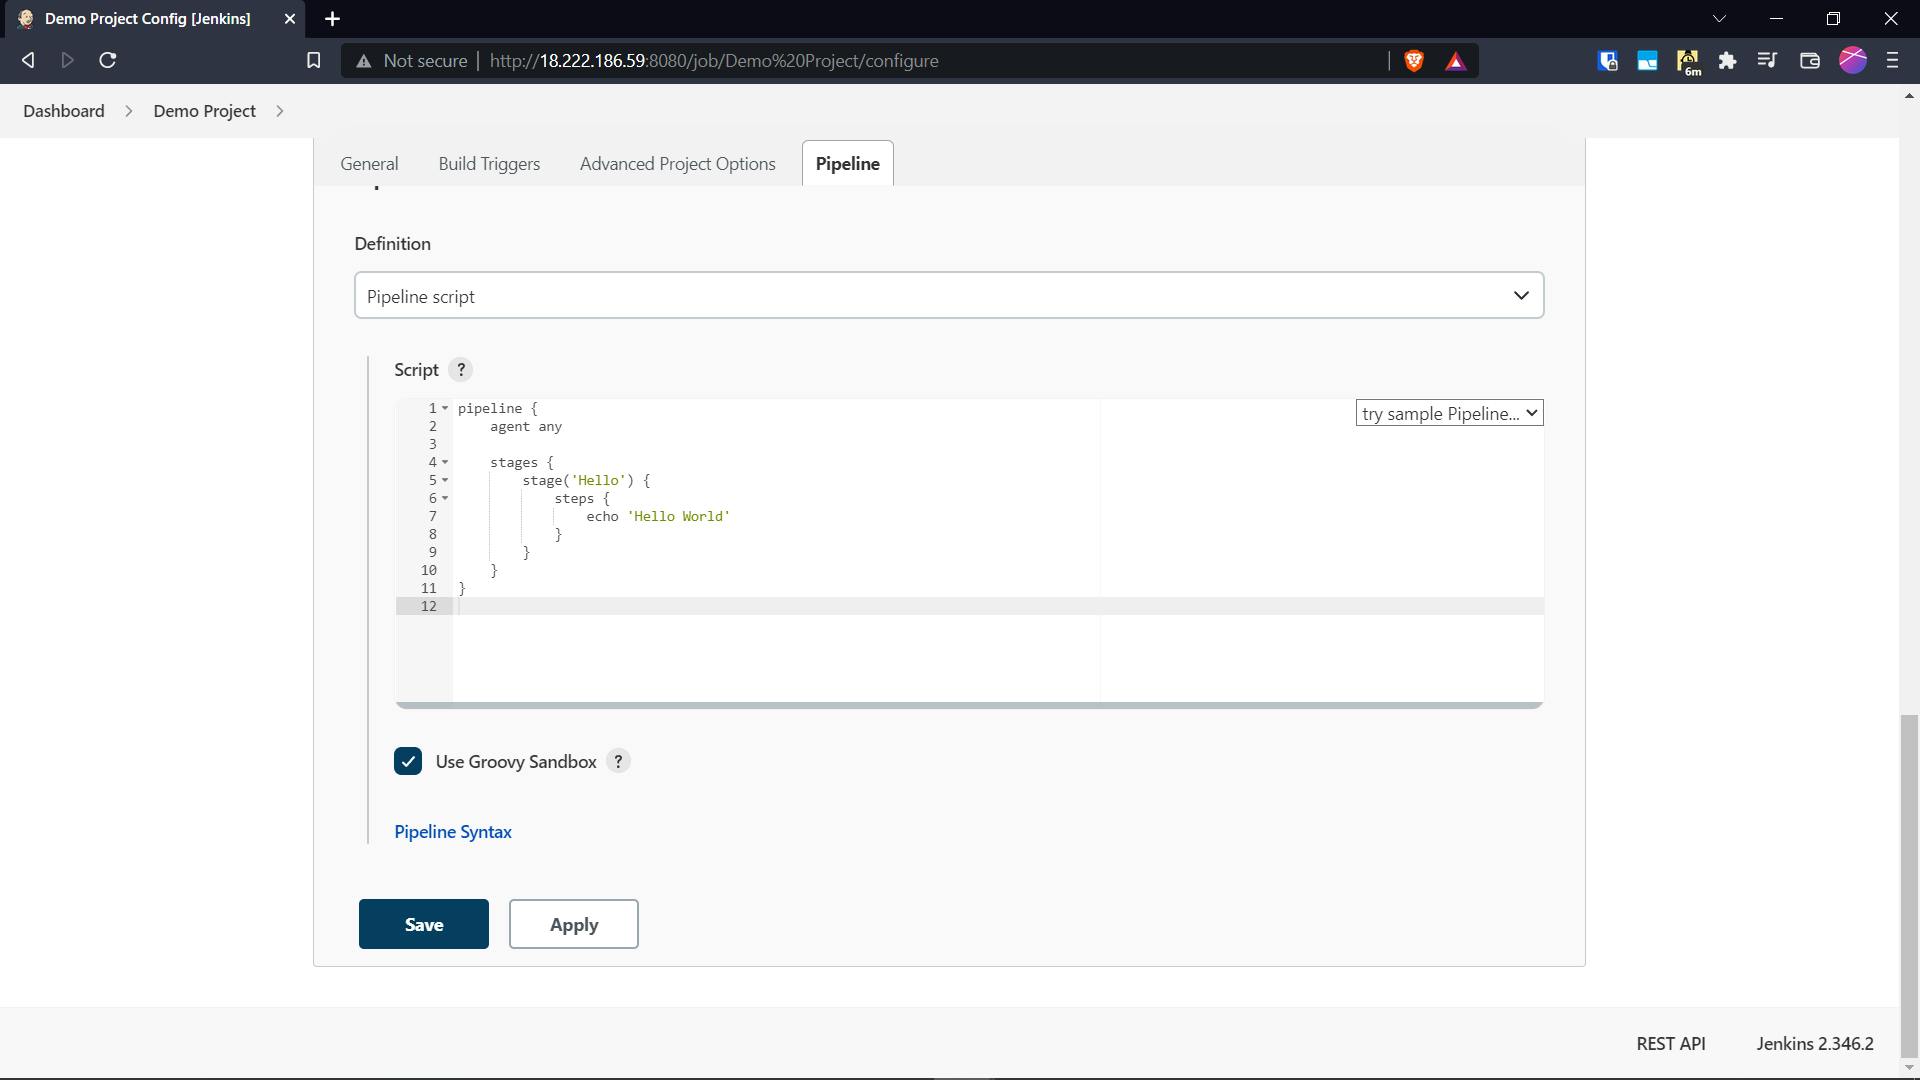
A pipeline in jenkins is a set of instructions that the nodes (executors) will follow to complete the ci/cd process. These instruction include build process as well as the deployment process, for this demo we're just going to use a default script.
Installing Jenkins
I am going to use a t3.medium, Ubuntu 20.04 LTS instance for this tutorial. P.S. Remember to allow network traffic to port 8080 which is the default port for jenkins installation.
Jenkins has dependency on java, so we'll start by installing java
sudo apt-get update
sudo apt-get install openjdk-11-jdk -y
Once this completes we will proceed with installing Jenkins using
curl -fsSL https://pkg.jenkins.io/debian-stable/jenkins.io.key | sudo tee \
  /usr/share/keyrings/jenkins-keyring.asc > /dev/null
echo deb [signed-by=/usr/share/keyrings/jenkins-keyring.asc] \
  https://pkg.jenkins.io/debian-stable binary/ | sudo tee \
  /etc/apt/sources.list.d/jenkins.list > /dev/null
sudo apt-get update
sudo apt-get install jenkins -y
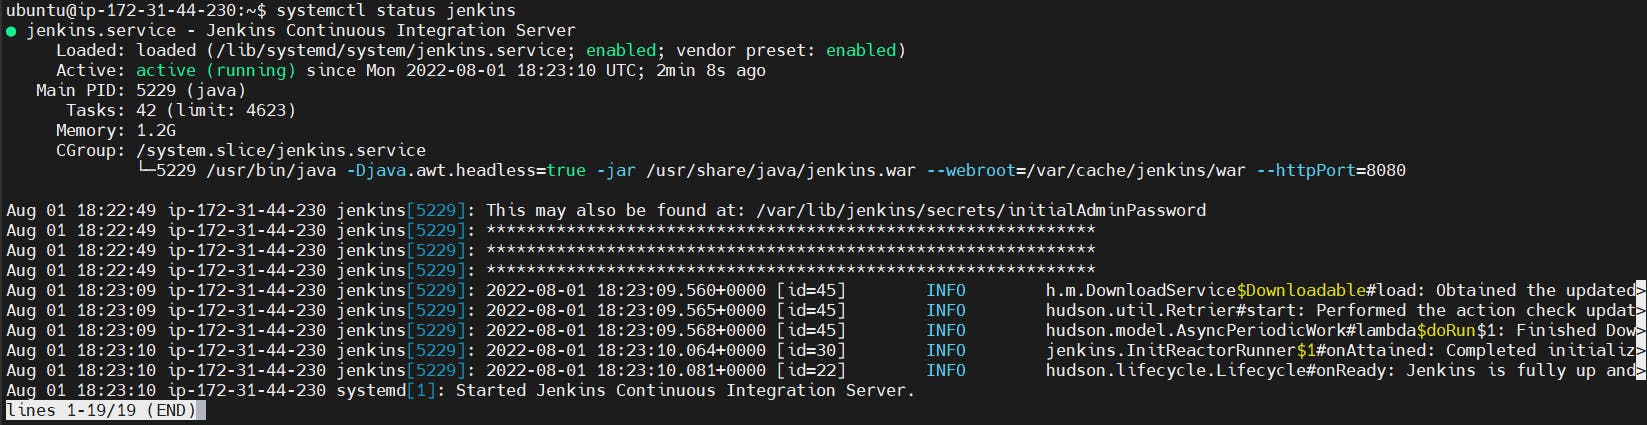
Once this completes, jenkins should be up and running on our instance. This can be checked using systemctl status jenkins (might need to use sudo depending on the distribution in use), the output should be similar to this:
Setting up the Jenkins
Now that our jenkins is installed and running , lets configure it.
To configure, we'll open up a browser and access the public ip with the port 8080 which will lead to a welcome screen from Jenkins.
IP to navigate to: $INSTANCE_IP:8080 (http://18.222.186.59:8080/ in my case)
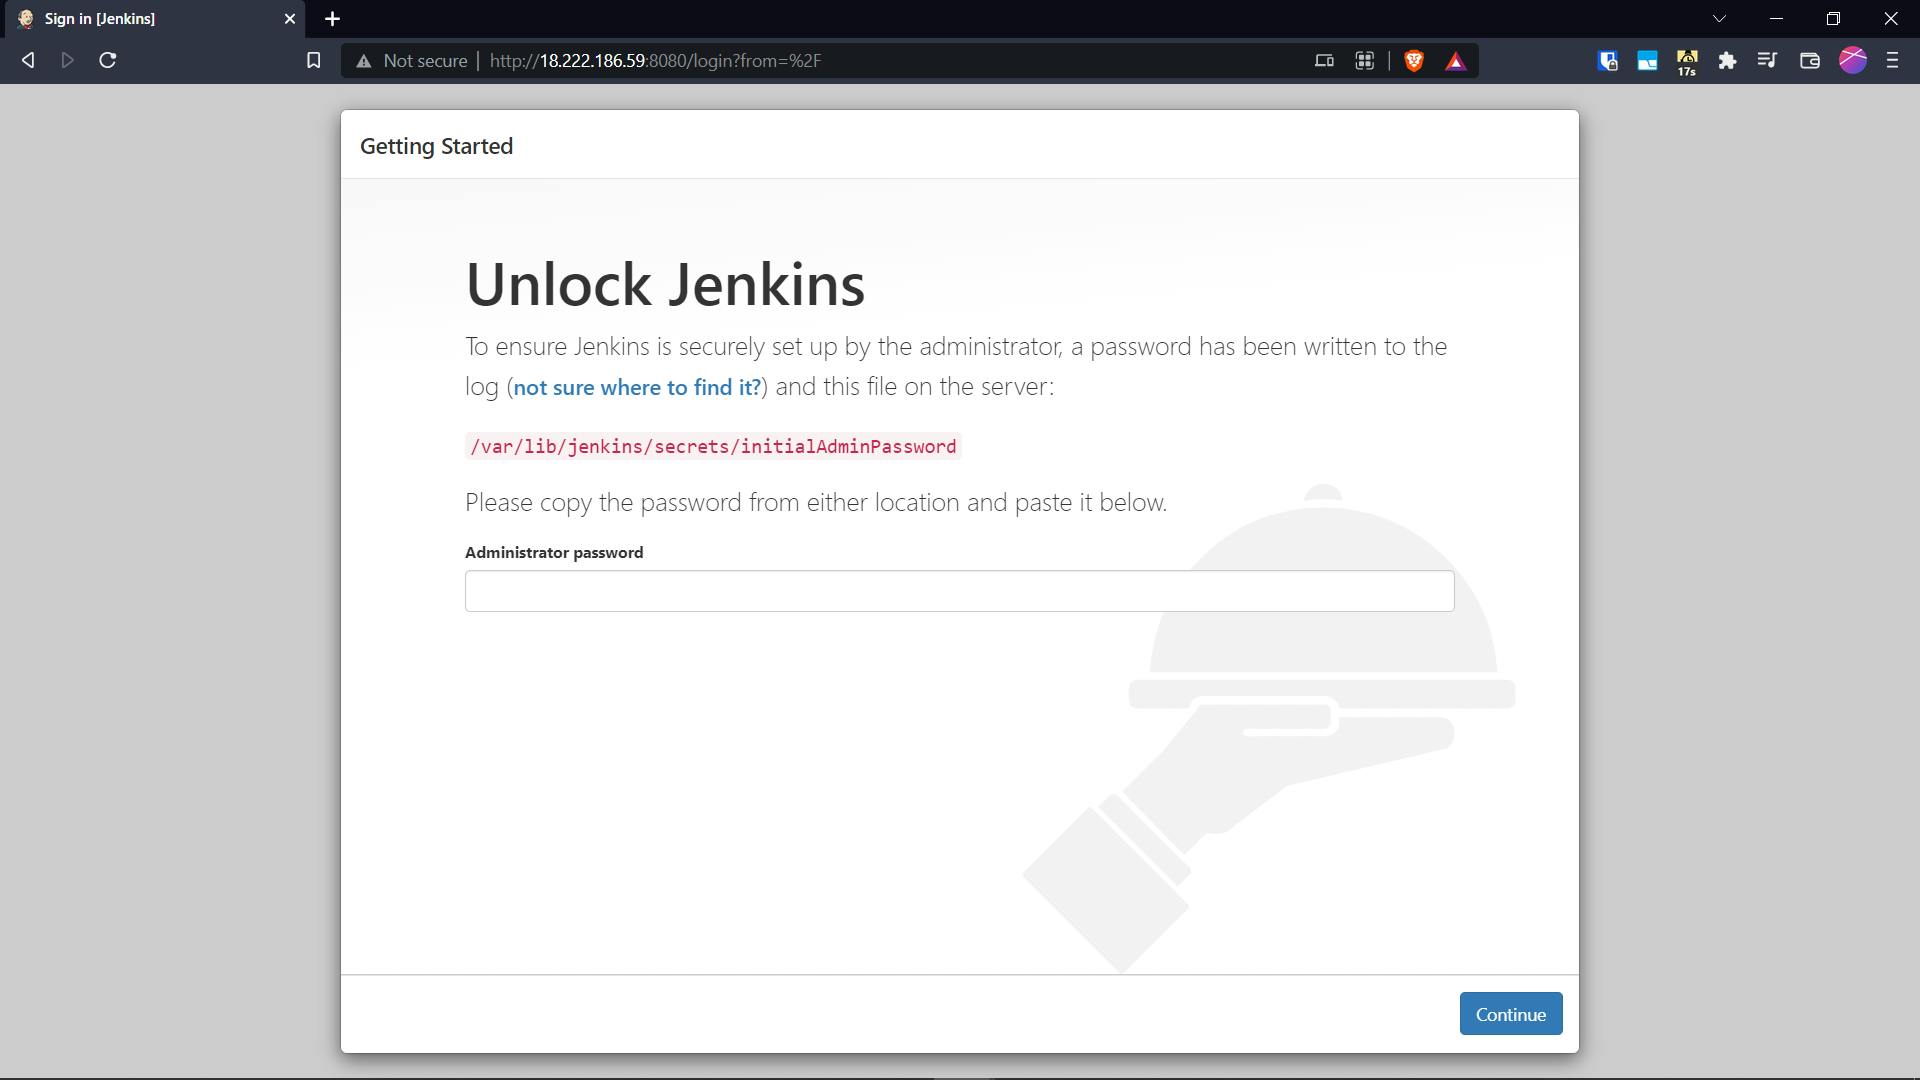
Jenkins informs us that there is a default password which is generated which we can find at the location mentioned on the page /var/lib/jenkins/secrets/initialAdminPassword
We can view the contents of the file using the cat command like
sudo cat /var/lib/jenkins/secrets/initialAdminPassword
Sudo is needed here as the file is owned by root

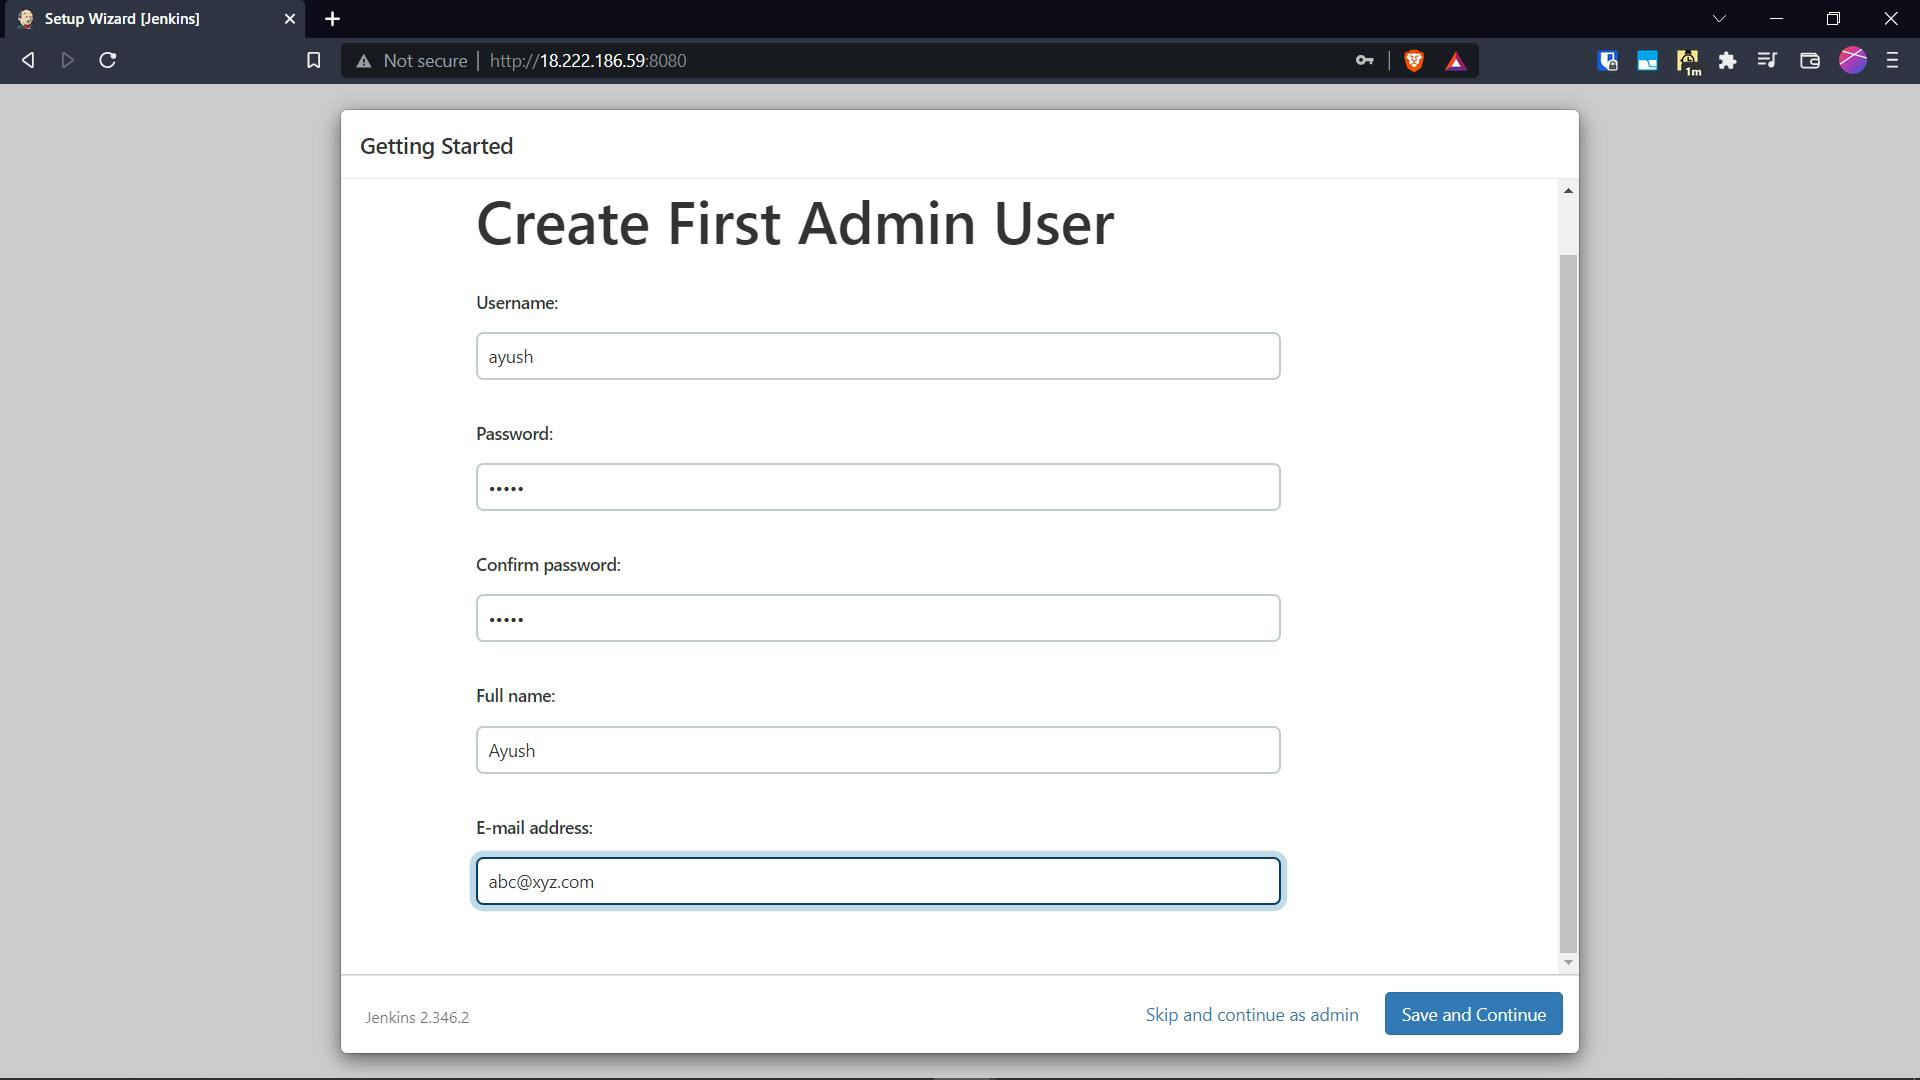
Now moving forward with the installation we we're given the option of either manually installing the plugins or to automatically install suggested plugins. I prefer the latter as it installs the basic plugins and we can go on installing whatever is required at a later stage.
Now we're greeted with Create First Admin User page, where we'll be giving the credentials for the admin user
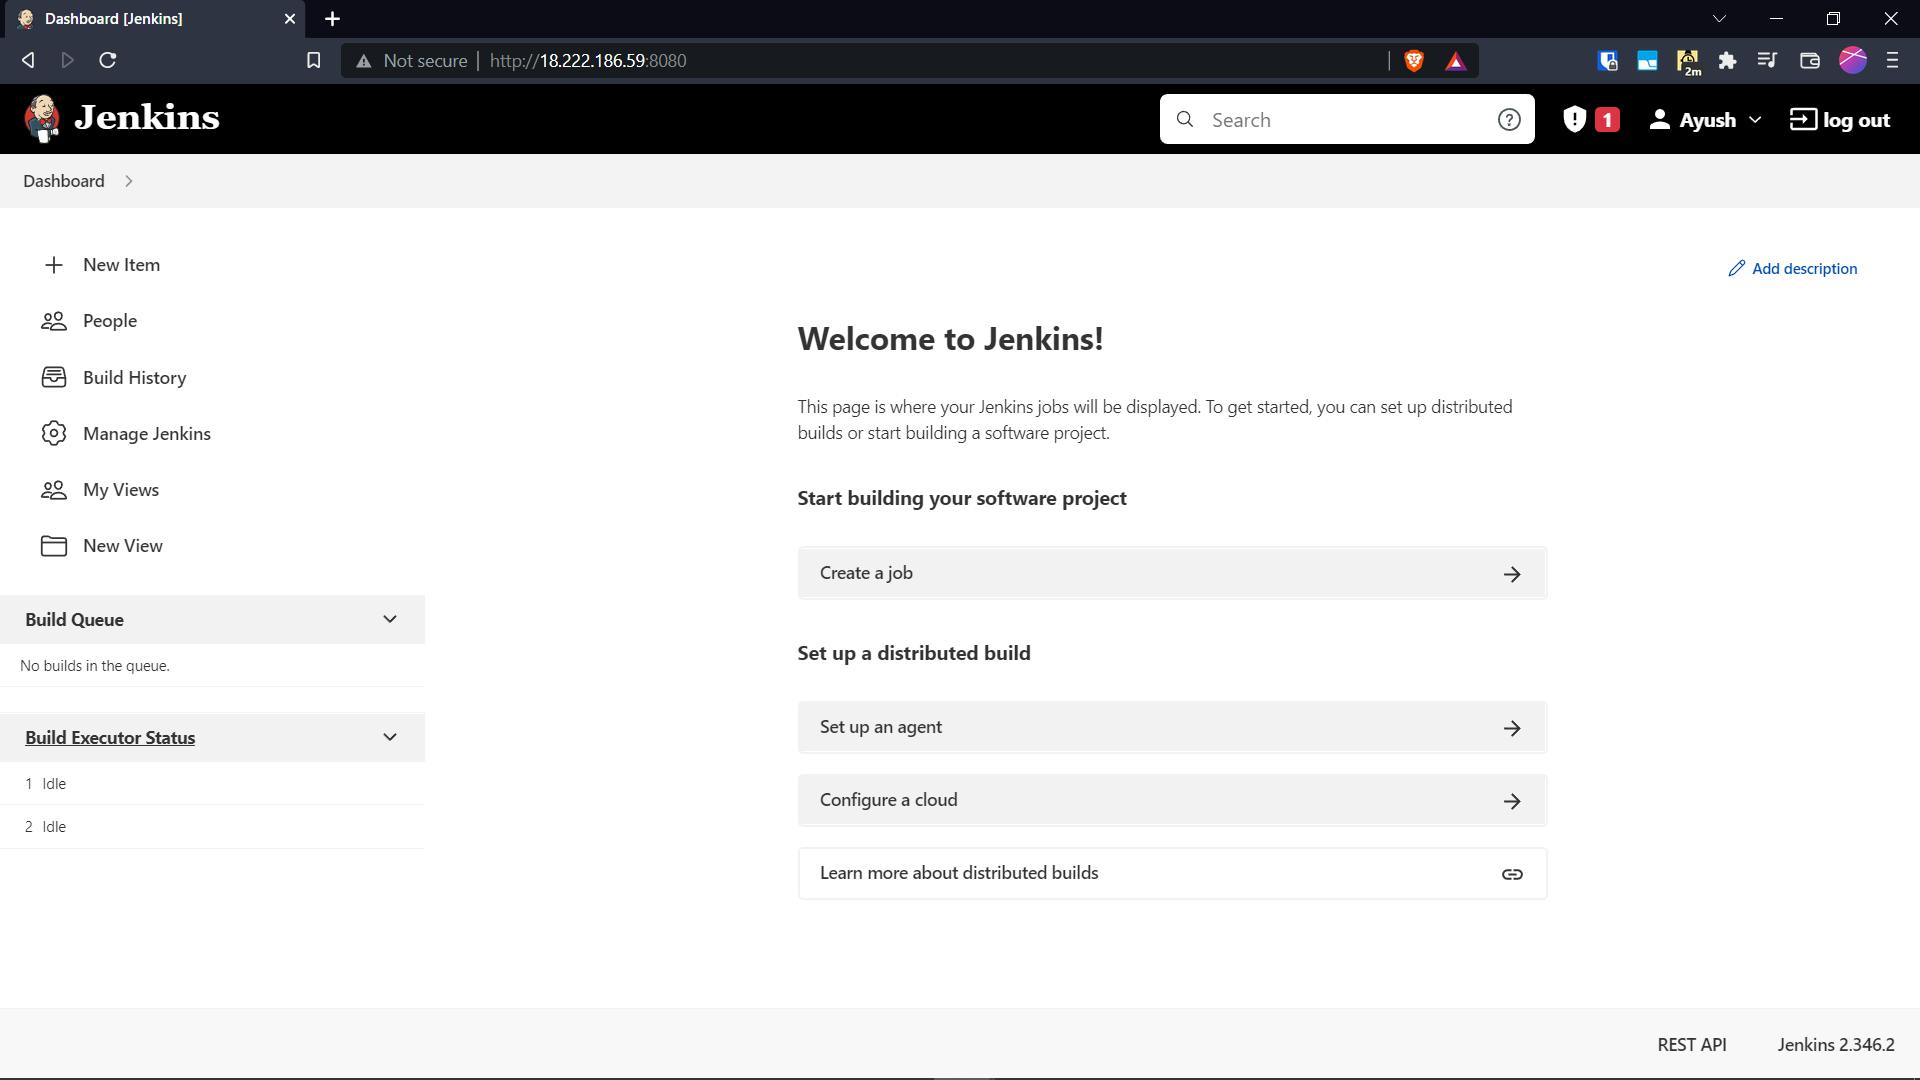
Now we're greeted with Jenkins Dashboard once all the configurations are done
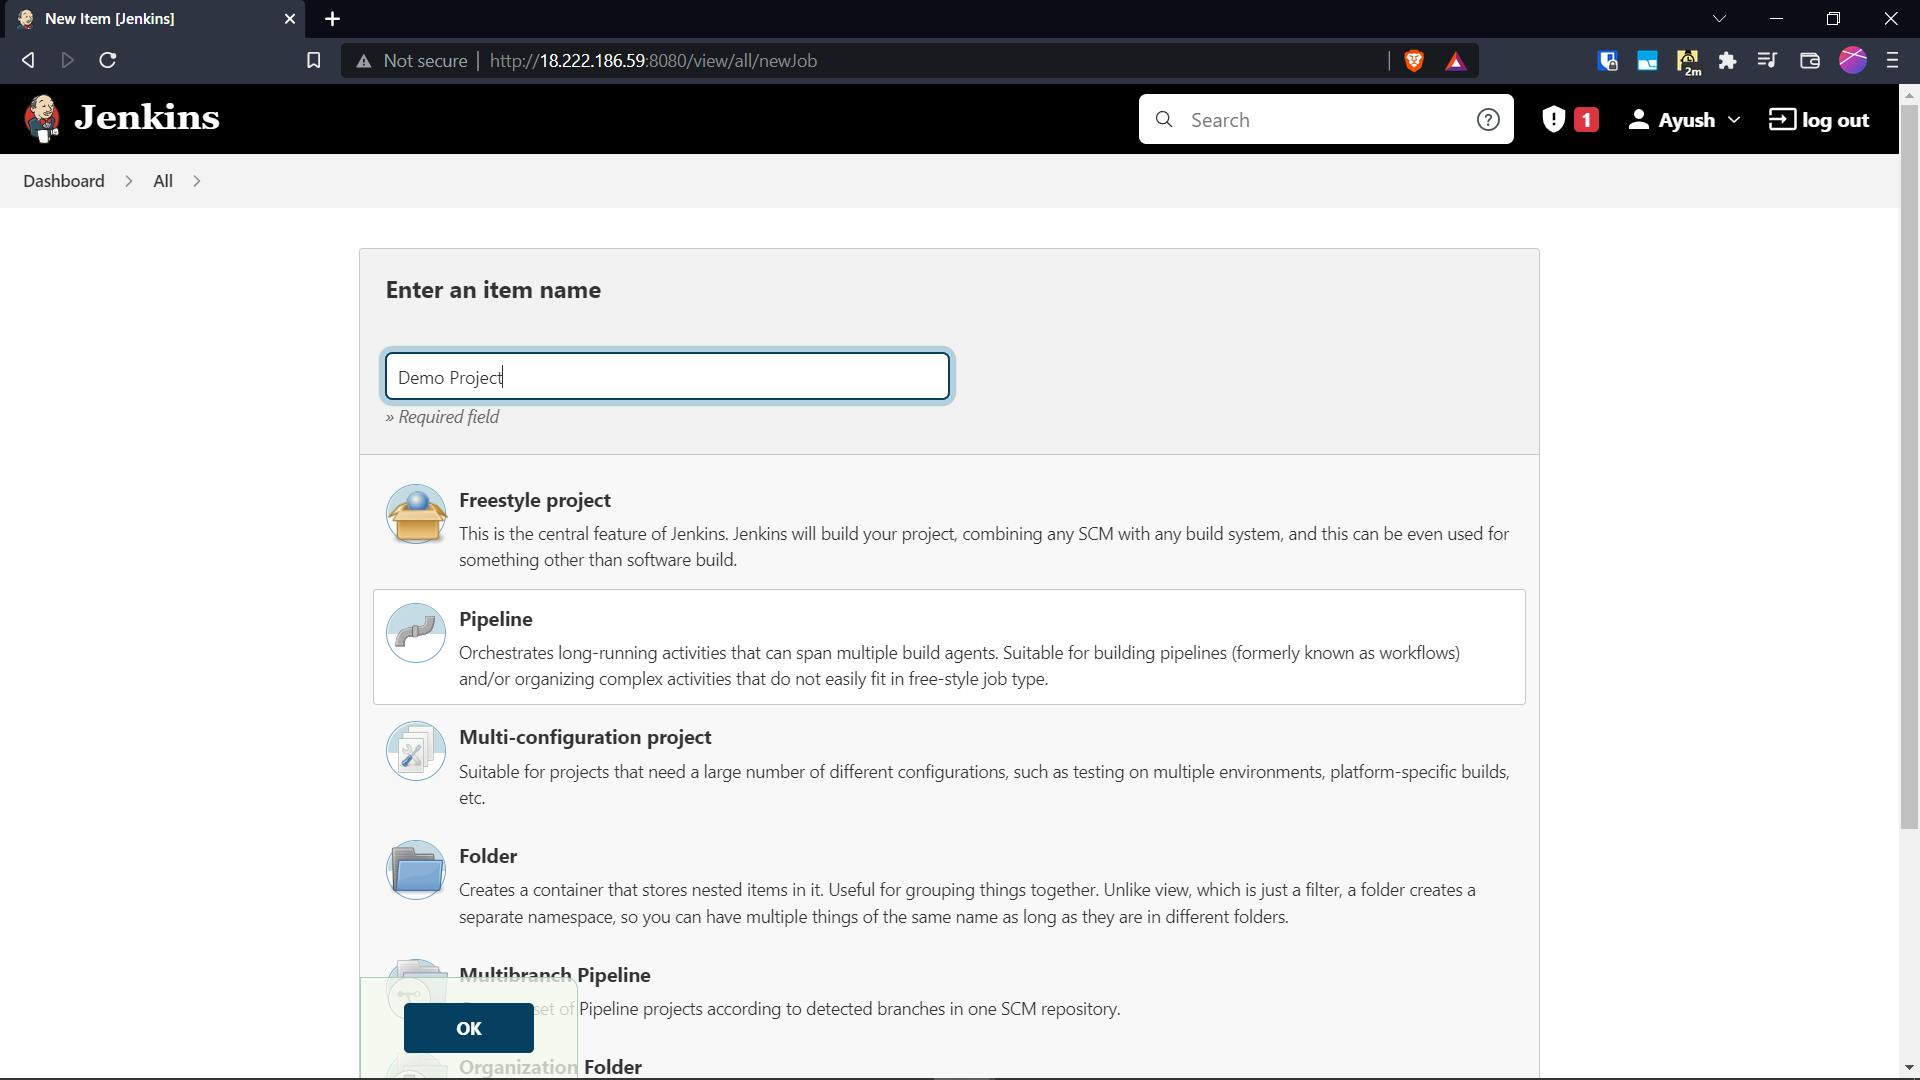
To create a new pipeline we click on create
And select pipeline from the menu and give a name to our project
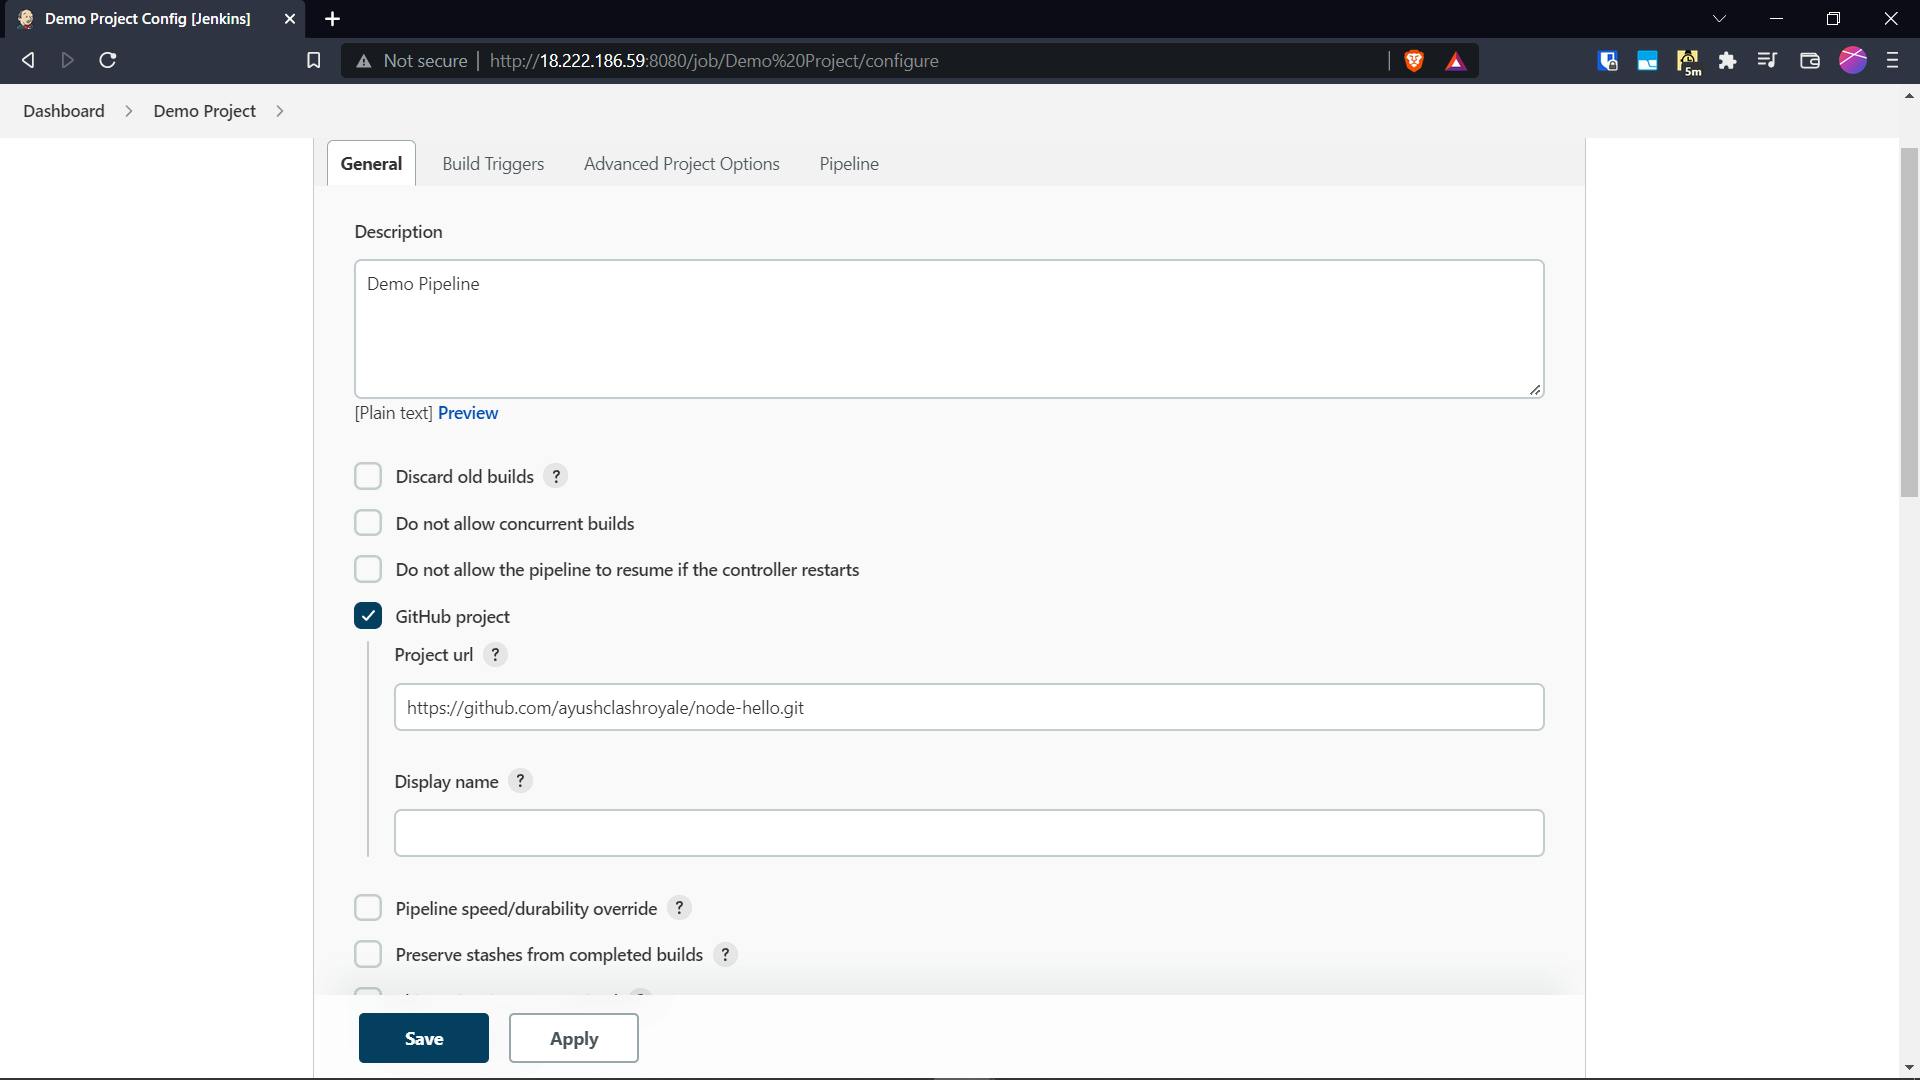
I'm going to use a project hosted on github for demonstrating the pipeline
https://github.com/ayushclashroyale/node-hello.git
We need to specify the project as a github project and then provide the link for the same
And selecting the hello world sample pipeline and then we apply the changes.
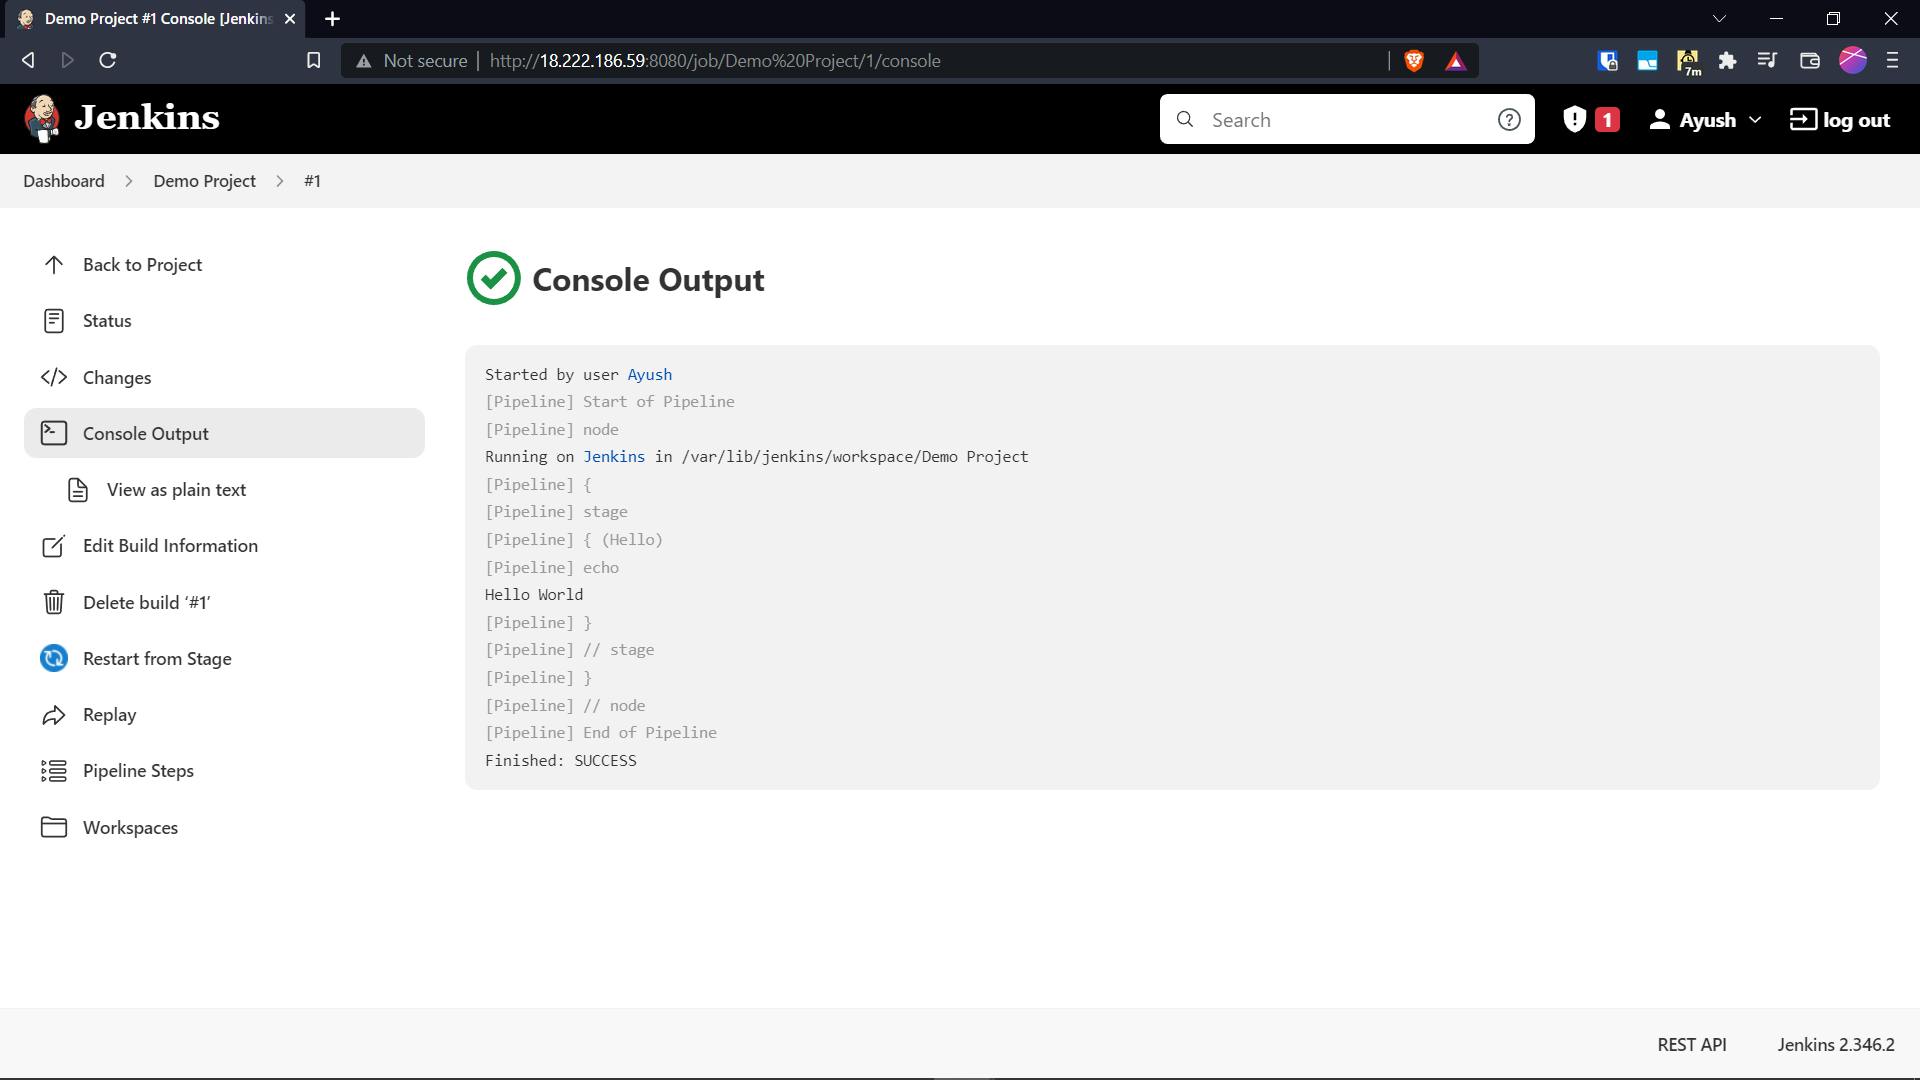
Now we can click on Build Now button located in the left side bar which will trigger the pipeline script on one of the nodes (Built in nodes in this case as we have not configured external nodes, maybe a topic for some other blog :) )
And Viola! our script executes succesfully, we can check the logs by clicking on the job and then navigating to console output.
Now we know how to create a pipeline in jenkins we can just replace the pipeline script with our custom script to create a customised ci/cd setup.
Thanks for reading!